Slider

Spanish Gown, c. 1580s

Wednesday 24 November 2021

Long time no post. I'm sorry for the long pause. To be honest, I'm trying to keep this blog a positive space and not to rant abour things but the past year, especially with the pandemic, has been extremely hard on me (miscarriages, death of my beloved dog, etc.) and I was barely able to find the energy to take care of things... which also means that I have barely sewn or finished projects or taken nice photos of the very few garments I've actually finished. I want to do better. Maybe in 2022, when I've finally finished my master thesis (hopefully).


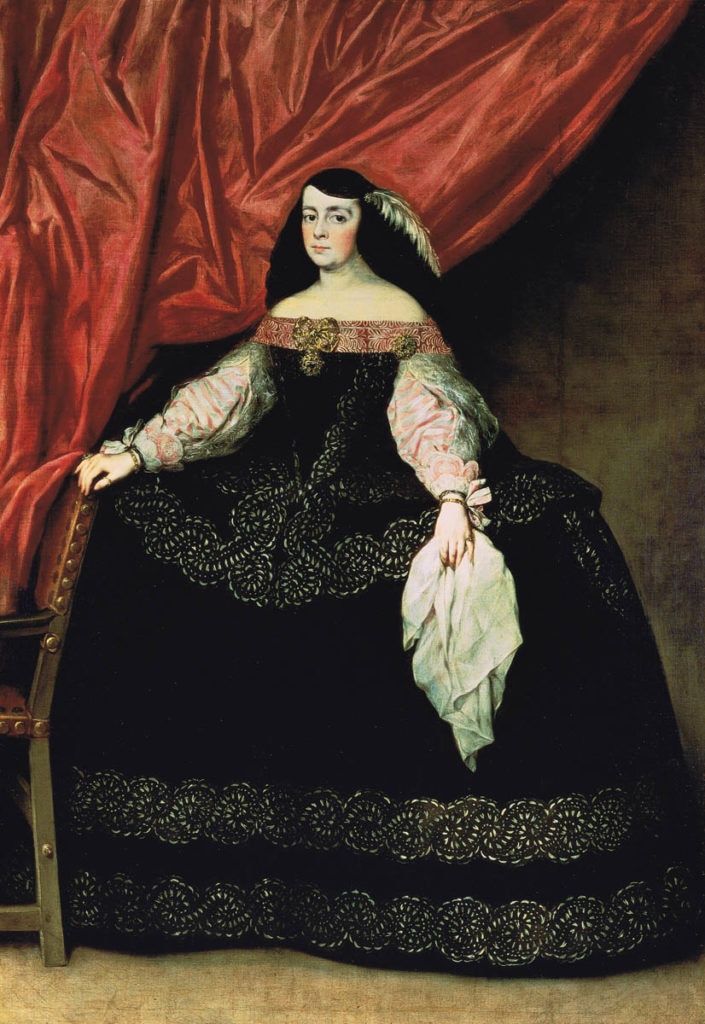
Anyway, this project was long in the making. Back in 2019, when my husband and I planned a LARP set in 17th century Spain for 2020 (not knowing that the pandemic would f*ck up our plans), I knew I would need a new gown. Yes, yes, I know the title says "c. 1580s". I really don't like the look of 17th century Spanish fashion with the ridiculously large verdugados that don't fit though any doors.


A verdugado worn beneath the noblewoman's skirt, similar to a farthingale.


Therefore, I decided that I would rather go back to the Renaissance and make myself a late 16th century gown, when Spanish influence in fashion was at its height. Somehow I longed for such a gown for a while anyway, so why not?


Inspiration for the gown, taken from Pinterest


It took some time until I finally decided on fabric, colour, embellishments, etc. that I moved onto the pattern. I used a combination of Margo Anderson's ladies' doublet pattern, a gown once worn by the Pfalzgräfin Dorothea found in Patterns of Fashion 3 and a fairly old (and unfortunately out of print) pattern by Simplicity. I can't say how long it took me to make it, because it was a process with a lot of breaks. I started in summer 2020 and finished it in summer 2021. Of course it didn't take me an entire year to make it, but after our LARP got postponed and several other setbacks in life, I couldn't be arsed to continue for a loooong time.

Anyhow, it is finally finished and I was able to wear it, alas the photographer for the event cancelled so I barely have any pictures of the gown's magnificence. I will definitely plan a photoshoot with it, but not anytime soon as Austria is in lockdown (yet again) and I have prioritised finishing my degree. So here are some awful pictures from my iPhone and one from the event.


Dorothea bodies c. 1598, Part Two

Thursday 19 November 2020

Although my stays have been finished for a month now, I haven't gotten around to write another blog post about them. My master thesis and my wedding past month have been pre-occupying my mind, plus due to the pandemic, I haven't been able to attend any events and actually wear the stays. I've only tried them on once after I finished them, to check the fit and also try on a spanish gown that I am currently working on, so the photos aren't that glamorous – apologies. Since my last post I've added the tabs, binded the rest of the stays and made all the eyelets.


I am quite happy with the fit apart from one thing... unfortunately the armscye is too tight. It was fine when I made the mock-up but for some reason it's tighter now. I may have gained 1-2kg since making the mock-up but surely that minimal weight gain doesn't make that much of a difference, does it? Of course it's annoying, but I'm still quite happy with the results. It gives me a nice shape and I can live with a tiny bit of discomfort underneath my armpits. Maybe it will become more comfortable once I lose weight again – at least I hope so.


I tried the stays on to fit my 16th century spanish gown and it gives me a nice shape. When I made the mock-up for the gown, I used my effigy stays, but the fit works well with both stays... but I will write more on that in a separate blog post.


Edit: Since wearing them once, I have altered them a little. The armscyes were too small, hence the tightness and discomfort underneath the armpits. I enlarged them by 2 cm by cutting into the fabric underneath the armpit, as the straps did not allow for any further alteration. The fit was immensely improved. I haven't worn them for almost 2 years now and I have gained some weight again, so currently (June 2023) I am not sure if they fit or not. I don't plan on altering them again though.

Dorothea bodies c. 1598, Part One

Sunday 9 August 2020

I own quite a few stays and corsets. Two of them are 17th century appropriate, so I don't have the need to make another one, but I do love a new challenge. One of them is styled after the 1603 effigy stays of Queen Elizabeth I. and boned with reed, the other one I would date between 1640-1660, which is fully boned with steel. I used to love to bone everything with the steel, even though it meant more work. For some reason I thought that I needed that extra support and cinching – the more rigid, the better. I wouldn't say that I regret it, but I wish I knew that using synthetic whalebone (fancy word for plastic, but very durable) is just as good and not so heavy. Hence, these stays will definitely be made with it!

The pattern I am using is from the Tudor Tailor. I scanned the pattern and enlarged the pieces on Photoshop, making sure that every box was about an inch in size just like indicated in the book. I may write a tutorial on how to do this, otherwise Morgan Donner has a great video on how she does it.

Pattern from The Tudor Tailor


I always have to alter patterns to my size, but in this case I was quite lucky. The Tudor Tailor patterns inside the book are pretty much my current measurements (after some significant weight gain *ahem*). I had some leftover coutil fabric, which is quite often used for 19th century corsetry, and created the mock-up. It fit perfectly and I didn't have to change anything. Yay!

For the stays I used:

  • 50cm pink silk dupioni, which I bought shortly after Christmas for only 3€/metre!
  • two layers of interlining (linen)
  • 50cm lining (pink linen)
  • synthetic whalebone

I basically followed all the instructions from the Tudor Tailor. I fused interlining and fashion fabric together and stiched the tunnels with a double running stich. I left out the busk, as I didn't find one that would fit the measurements I needed and I didn't want to cut my own. I simply boned the centre with synthetic whalebone too.

Tunnels and boning finished


Then I sewed in the lining (because I absolutely hate not having a lining inside, it's one of my pet peeves) and did the binding. Finding the right tape for binding was a pain, because the colour of the silk was so unique, that it took me several weeks of searching, only to find some grosgrain ribbon at an interior design shop. I was very content though... I like it when everything colour coordinates.

Colour coordination of silk, linen and grosgrain ribbon


After all that was done, the last step would be making eyelets. Usually I am a lazy person and would simply use metal grommets, but this time I wanted to be as historically accurate as possible. After all I already made the effort of sewing everything by hand, why would I stop at the eyelets?


So far I have only done four eyelets, as it's pretty hard to get through all the layers and I get quite tired after just one. My next post will show the finished eyelets and hopefully I will have pictures of me wearing it already.

New Beginnings

Wednesday 15 April 2020


My first entry. How do you write a good beginning for a new project? Maybe I should first explain how all this madness started:

When I was about 15 years old I developed a soft spot for historical costumes. When the film "Marie Antoinette" came out in 2006, I wanted to look like a rococo macaroon princess, but I had no idea where I could get one of these dresses. I got lost on eBay for a few hours and after a few hours of research I said to my father, that I would like one of those gowns for my birthday. The said gown was a polyester satin frock, like those from the horrible Amadeus film, for 360 euros. My father replied dryly: "Sew it yourself."

Back then, I had no idea how to sew. It was a miracle if I was able to attach buttons to something. I was in dire need of help. Luckily my mother is very talented in many areas, including tailoring, so I knew I would need her help in this endeavour. After a year or two of studying the different fashion eras, buying a Janet Arnold book and five patterns from Nehelenia Patterns, I ventured on my first project: a Lévite. This decision was then accelerated by the fact that I wanted to present a finished gown for my presentation about Marie Antoinette for my final exam (graduation) in high school. My mother then taught me how to sew step by step with a lot of patience. That's how my first project came about. A passion was born.

In late 2009 or early 2010, after I graduated from high school, I started with LARP and finally had a reason to not only sew so many costumes for myself but also wear them. This is where the real madness began. I plunged into fashion history, read countless books, and piled up so many patterns, that I sometimes don't even know what I even own. I certainly haven't even attempted half of them. When I started studying history at university, I knew I wanted to dedicate my career to fashion history. At times I wanted delve into cultural history, at least that was my status less than a year ago. Today I know that I want to do material culture history.

Over the years I have sewn more frequently for various events. As of 2020, it is now about 11 years of larping. As you can imagine, after a decade I have made quite a lot of costumes, which have become better every year. The compliments I got made me proud and it made my love my hobby even more.

In 2013 I decided to blog about it. Unfortunately, it didn't work out as planned, because I either didn't have the time or I was just too lazy to write or take pictures during the sewing process. I forgot to do the latter quite often, as I never wanted to interrupt my flow while working. After 7 years it annoyed me so much that I never got into blogging, so during the quarantine (COVID-19 crisis), I decided to finally tackle blogging and start doing it regularly. No more excuses!

Latest Instagrams

© The Tailor's Needle. Design by FCD.